250x250
Notice
Recent Posts
Recent Comments
Link
| 일 | 월 | 화 | 수 | 목 | 금 | 토 |
|---|---|---|---|---|---|---|
| 1 | 2 | 3 | 4 | 5 | 6 | |
| 7 | 8 | 9 | 10 | 11 | 12 | 13 |
| 14 | 15 | 16 | 17 | 18 | 19 | 20 |
| 21 | 22 | 23 | 24 | 25 | 26 | 27 |
| 28 | 29 | 30 | 31 |
Tags
- POD
- 파이썬
- pytorch
- 데이터베이스
- yaml
- Docker
- 웹 프로그래밍
- OpenCV
- GUI
- MariaDB
- 그래픽 유저 인터페이스
- 컴퓨터 비전
- k8s
- Tkinter
- Python
- Django
- Web Programming
- Computer Vision
- tensorflow
- 텐서플로우
- vue.js
- FLASK
- Deep Learning
- 딥러닝
- numpy
- paper review
- 장고
- 파이토치
- kubernetes
- 논문 리뷰
Archives
- Today
- Total
Maxima's Lab
[Vue.js 3 + Vuetify 3] File inputs (Component) 사용법 본문
728x90
SMALL
안녕하세요, 오늘은 Vuetify 3에서 File inputs (Component)을 사용하는 방법에 대해서 알아보겠습니다.
Vuetify — A Vue Component Framework
Vuetify is a no design skills required Open Source UI Component Framework for Vue. It provides you with all of the t...
vuetifyjs.com
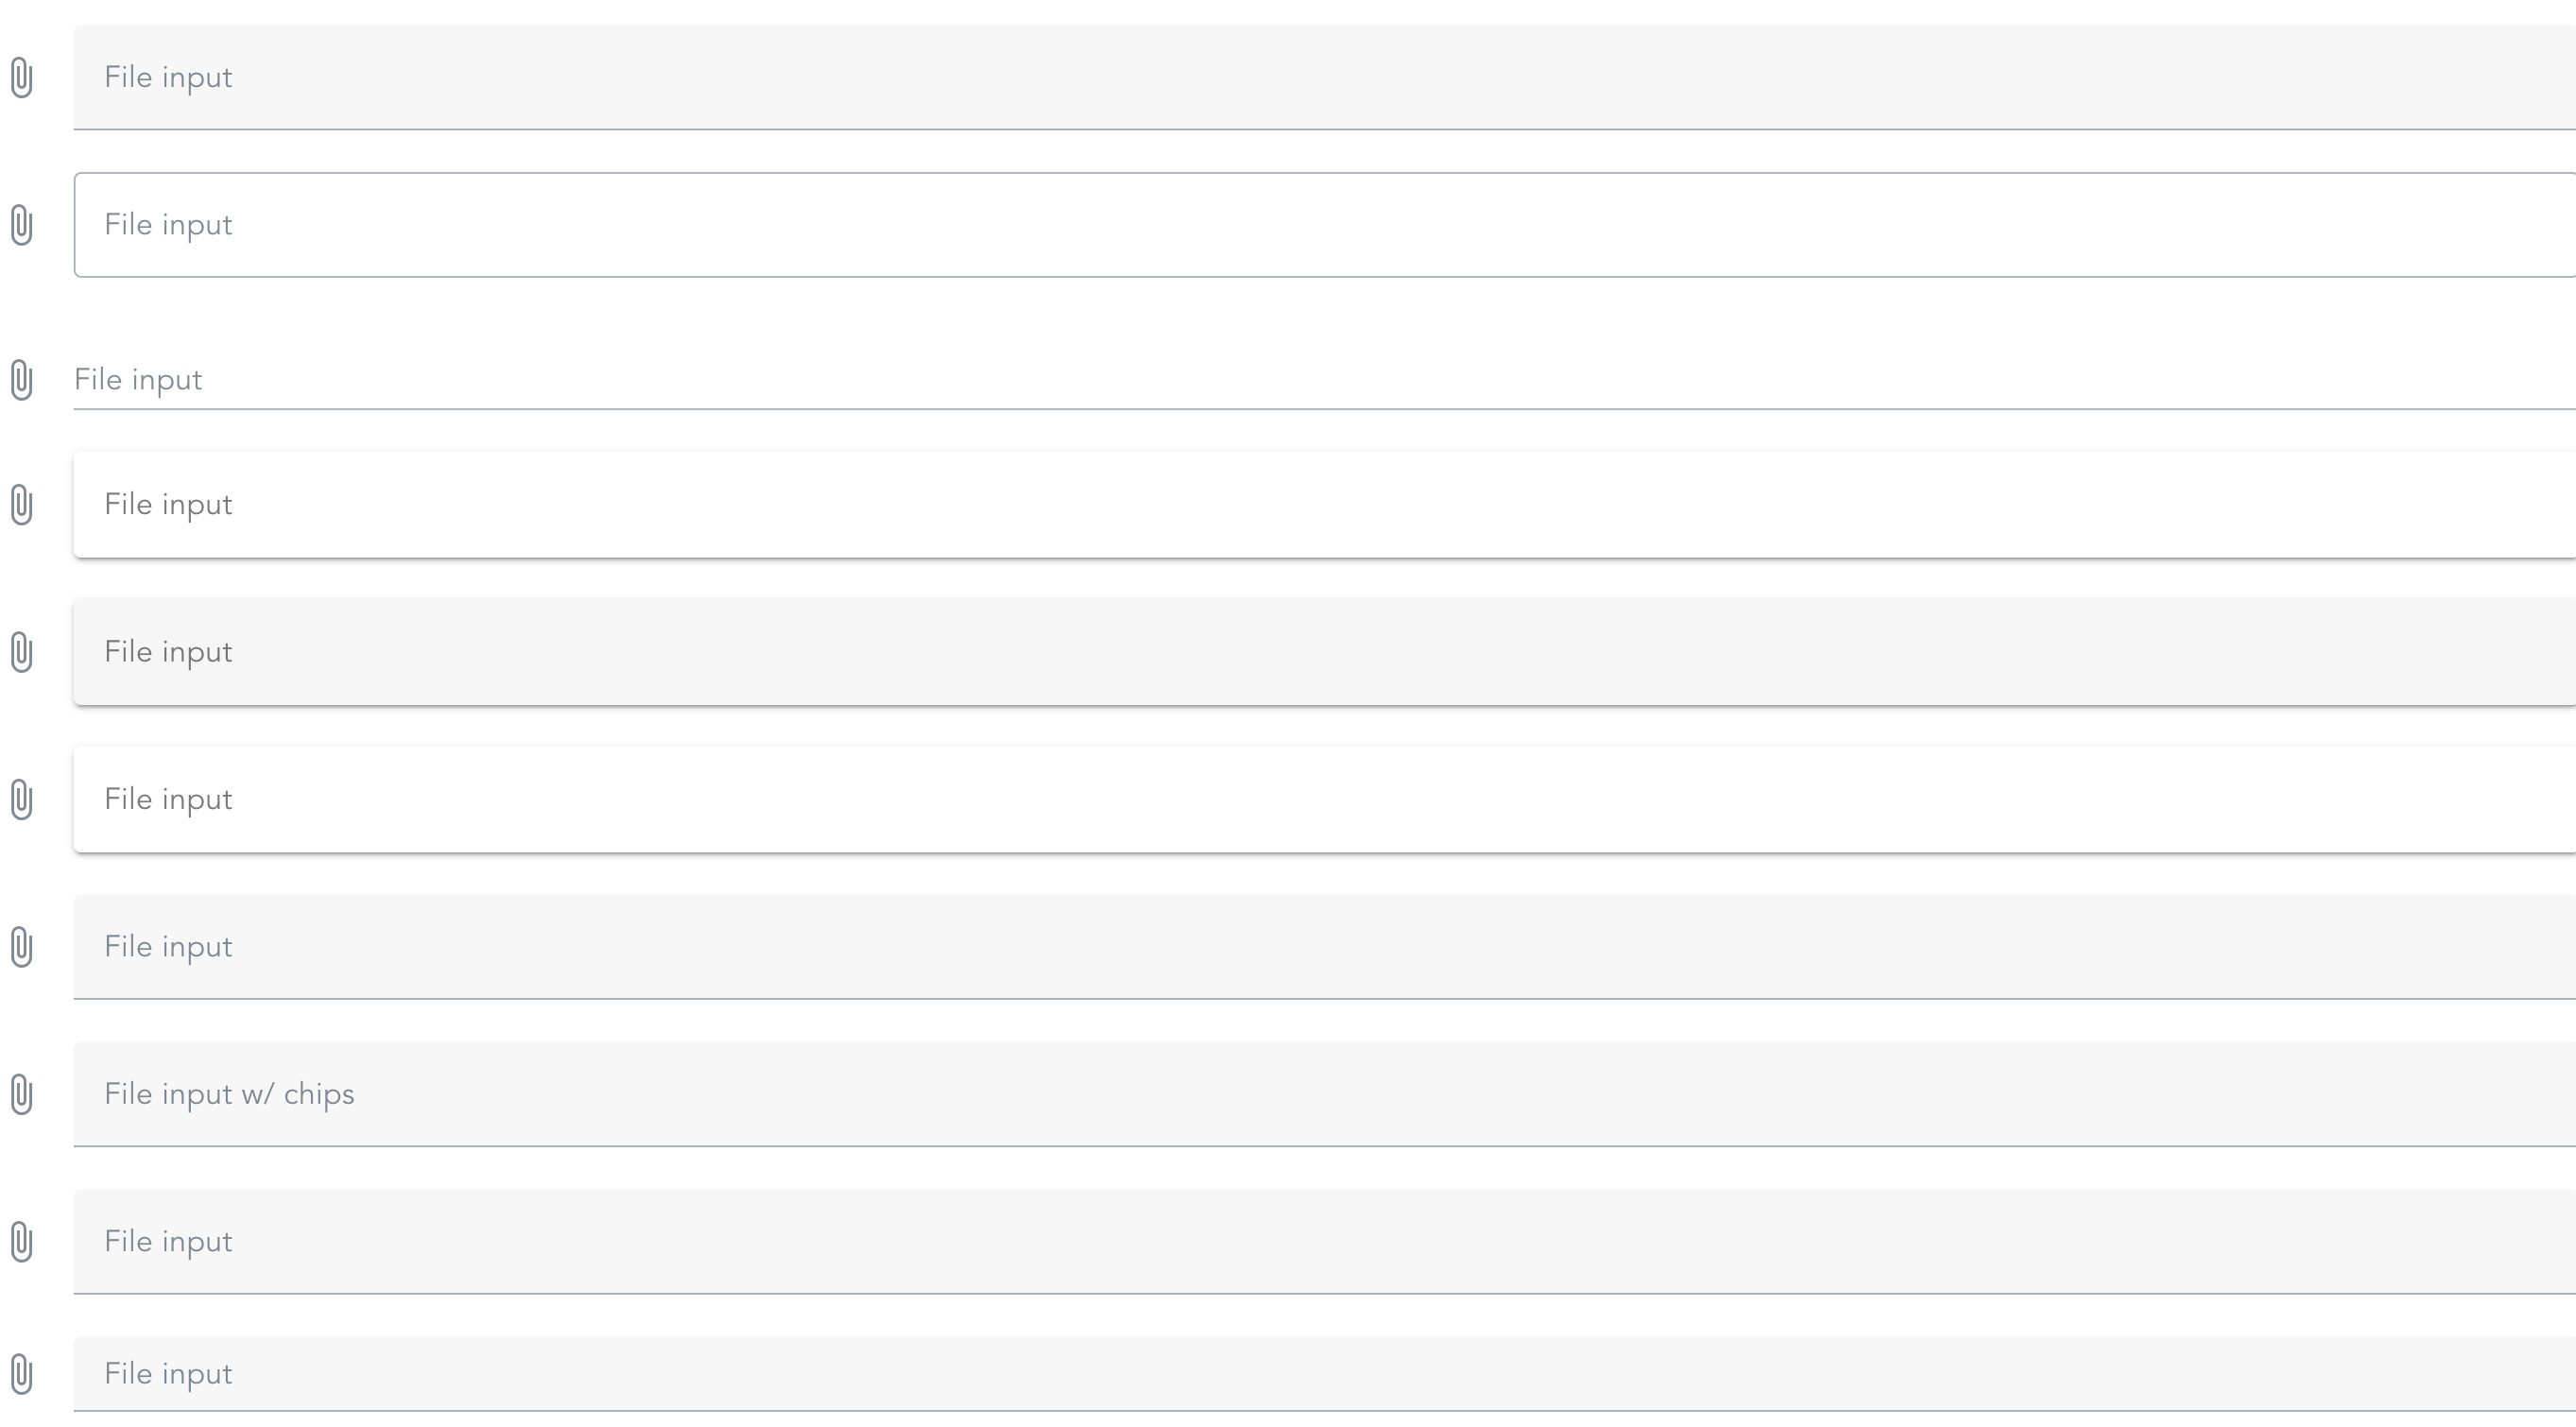
File inputs (Component)를 다양한 예시들을 활용한 결과는 다음과 같습니다.
<template>
  <v-file-input label="File input"></v-file-input>
  <v-file-input label="File input" variant="outlined"></v-file-input>
  <v-file-input label="File input" variant="underlined"></v-file-input>
  <v-file-input label="File input" variant="solo"></v-file-input>
  <v-file-input label="File input" variant="solo-filled"></v-file-input>
  <v-file-input label="File input" variant="solo-inverted"></v-file-input>
  <v-file-input accept="image/*" label="File input"></v-file-input>
  <v-file-input label="File input w/ chips" chips multiple></v-file-input>
  <v-file-input label="File input" counter multiple show-size></v-file-input>
  <v-file-input density="compact" label="File input"></v-file-input>
</template>

위의 코드에서 variant 값의 따라서 디자인이 위의 예시 처럼 변화하는 것을 확인할 수 있으며, accept 옵션은 특정 파일 format이나 타입을 지정할 수 있습니다. 그리고, counter 옵션은 업로드 한 파일들의 수를, multiple 옵션은 다수의 파일 선택할 수 있게, 그리고 show-size는 해당 파일들의 size를 확인할 수 있습니다.
이어서, 조금 더 복잡한 Case에 대해서 알아보겠습니다.
<template>
  <v-file-input
    v-model="files"
    :show-size="1000"
    color="deep-purple-accent-4"
    label="File input"
    placeholder="Select your files"
    prepend-icon="mdi-paperclip"
    variant="outlined"
    counter
    multiple
  >
    <template v-slot:selection="{ fileNames }">
      <template v-for="(fileName, index) in fileNames" :key="fileName">
        <v-chip
          v-if="index < 2"
          class="me-2"
          color="deep-purple-accent-4"
          size="small"
          label
        >
          {{ fileName }}
        </v-chip>

        <span
          v-else-if="index === 2"
          class="text-overline text-grey-darken-3 mx-2"
        >
          +{{ files.length - 2 }} File(s)
        </span>
      </template>
    </template>
  </v-file-input>
</template>
<script>
export default {
  name: 'App',
  components: {
  },
  data () {
    return {
      files: [],
    }
  },

}
</script>
위의 코드에 대한 실행 결과는 다음과 같습니다. 첨부 파일들 중 처음 2개의 파일을 시각화 하며, 3개 이상이여서 2개를 초과하는 파일 개수에 대해서는 요약하여 우측에 표시하게 됩니다.

이상으로, Vuetify 3에서 File inputs (Component)를 사용하는 방법에 대해서 알아보았습니다.
감사드립니다.
728x90
LIST
'Web Programming' 카테고리의 다른 글
| [Database, DB] PostgreSQL & DBeaver Community 설치 및 사용 방법 (0) | 2024.04.15 |
|---|---|
| [Vue.js 3 + Vuetify 3] Data table (Component) 사용법 (0) | 2024.03.12 |
| [Vue.js 3 + Vuetify 3] Vuetify 3 설치 및 적용하는 방법 (0) | 2024.03.11 |
| [Web Programming] Modal Dialog 커스터마이징 하는 방법 (0) | 2024.02.23 |
| [Flask] Flask 모듈화 방법 (Blueprint) & current_app (0) | 2023.11.13 |
Comments


